Could your device’s silent performance killer be hiding in plain sight? Many users overlook a critical component that ensures smooth operation: the cooling system. Without proper thermal management, even high-end hardware can falter under pressure.
Effective heat dissipation isn’t just about preventing crashes—it’s about maximizing longevity. Whether you’re running a gaming rig or a workstation, components like fans and thermal interfaces directly impact temperature regulation. A single weak link in this chain can throttle performance or lead to costly repairs.
Modern systems demand a two-pronged approach. Software tools provide real-time data on thermal thresholds, while physical inspections reveal issues like degraded paste or blocked airflow paths. Stock coolers might save costs upfront, but aftermarket solutions often deliver superior thermal transfer when properly maintained.
This guide breaks down the essentials:
- Identifying signs of inefficient cooling
- Evaluating fan speed and air circulation patterns
- Optimizing contact between components and heatsinks
We’ll explore how ambient conditions and dust accumulation create compounding effects on heat distribution. You’ll learn practical methods to assess cooling capacity and implement targeted improvements—no technical expertise required.
Ready to transform your device’s thermal performance? Let’s dive into the science of staying cool under pressure.
Understanding the Role of Heat Sinks
The unsung hero of hardware longevity isn’t the processor or GPU—it’s the component that keeps them cool. Thermal management systems use specialized designs to transfer energy from sensitive electronics into the surrounding environment.
Core Functions and Design
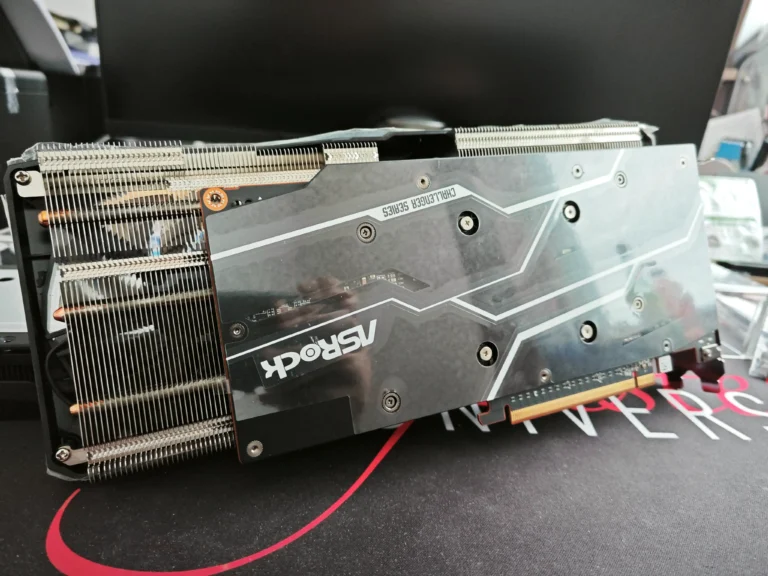
A heatsink acts as a thermal bridge, absorbing energy from hot components through direct contact. Most models feature aluminum or copper fins that maximize surface area for efficient heat transfer. This design accelerates natural convection, letting air currents carry warmth away from critical parts.
Airflow Dynamics
Effective cooling requires coordinated flow patterns. Three factors determine success:
- Fan placement relative to heatsink orientation
- Clearance between adjacent components
- Case ventilation supporting unobstructed movement
Stock coolers often prioritize cost over performance, while aftermarket solutions typically boost surface area by 30-50% through denser fin arrays.
Preventable Failures
Manufacturer guidelines highlight two critical risks:
- Dust buildup insulating fins within 6-12 months
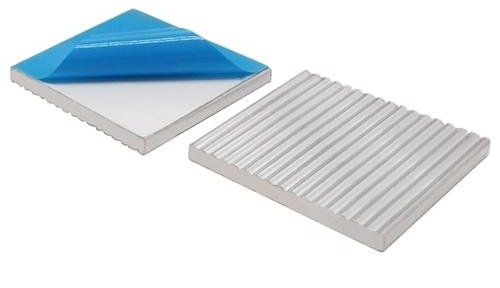
- Improper mounting pressure reducing contact efficiency
Many thermal paste applications require replacement every 2-3 years to maintain optimal conductivity. Blocked vents or misaligned fans can spike component temperature by 15°C within minutes under load.
Inspecting and Evaluating Your Device’s Heat Sink
Regular maintenance forms the backbone of reliable thermal management. Overlooked inspections often lead to gradual performance drops and hardware strain. Two critical areas demand attention: component integrity and airflow efficiency.
Visual Inspection and Thermal Paste Assessment
Begin by powering down the device and accessing the cooling assembly. Look for dust layers on heatsink fins or misaligned mounting brackets. Uneven thermal paste distribution appears as blotchy patterns between the processor and metal base.
Use isopropyl alcohol to remove old paste, then apply a pea-sized dot of fresh compound. Proper coverage ensures optimal heat transfer without air gaps. Check for cracked fins or corrosion—these indicate physical damage requiring part replacement.
Cleaning, Dust Removal, and Fan Functionality
Compressed air clears debris from heatsinks and ventilation channels. Spin the fan manually to detect grinding noises or resistance. Secure loose screws and verify blade alignment with the heatsink’s airflow path.
Monitor temperature fluctuations after cleaning. Persistent spikes suggest inadequate dissipation despite proper maintenance. Schedule quarterly checks to prevent cumulative dust effects, especially in high-use environments.
How to check heat sink: Step-by-Step Guide
Maintaining peak performance starts with accurate thermal diagnostics. This systematic approach combines digital monitoring with physical assessments to pinpoint cooling inefficiencies before they escalate.
Digital Temperature Tracking
Install trusted tools like HWMonitor or SpeedFan to monitor component temperature in real time. Launch the software during typical usage and note baseline readings. Compare these values against manufacturer specifications for your device—consistently exceeding thresholds signals cooling issues.
Airflow and Surface Analysis
Use an infrared thermometer to measure heat distribution across the heatsink. Optimal flow shows gradual temperature drops from base to fins. Check fan RPM using BIOS settings or dedicated apps—irregular speeds indicate bearing wear or power issues.
Conduct a smoke test with incense near intake vents. Observe how quickly smoke disperses through the system. Poor dissipation creates visible turbulence or stagnant zones.
Early Warning Signs
Look for discolored areas on the heatsink or warped components nearby. Document times when temperature spikes occur during specific tasks. Re-seat the cooling assembly after cleaning, ensuring even pressure across the CPU/GPU.
Test laptop cooling by running stress tests before and after maintenance. Persistent thermal throttling despite proper care often requires upgraded cooling solutions. Schedule quarterly checks to prevent cumulative damage from dust buildup.
Conclusion
Overheating silently erodes performance, but vigilant care stops degradation. Heat sinks serve as thermal regulators, channeling energy away from sensitive electronics through strategic designs and airflow patterns. Proper maintenance combines visual inspections with software tracking to catch issues before they escalate.
Manufacturer guidelines outline critical maintenance schedules—ignoring them risks irreversible component damage. Laptop users face unique challenges due to compact designs, making quarterly cleanings essential. Dust-clogged fans, blocked vents, and dried thermal paste remain leading causes of temperature spikes, disrupting heat dissipation.
Understanding heat transfer principles and airflow dynamics helps diagnose cooling inefficiencies. Regular assessments preserve both heatsinks’ integrity and system responsiveness. Proactive measures like compressed air cleaning and paste replacement optimize thermal flow, adding years to hardware life.
Commit to scheduled maintenance. Your device’s longevity depends on consistent thermal management—don’t wait for warning signs to act.